Wednesday, October 09, 2013

Can you have unlucky figures? - Niazam Artillery.

The signed were bad from the day I ordered them, only half the order arrived, the rest would follow on later.

Tired of being the Napoleonic whipping boys, I thought I would bolster the Ottoman forces with some westernized Nizam - i - Ceditso or New Army.

The only manufacturer I am aware of that make them are Old Glory they can always be trusted to cater for the gamer seeking the odd units of a period, the challenge with Old Glory is that the quality of sculpt can vary from range to range, the Ottomans are a little less well defined than others but they do provide me with valuable reinforcements.

So I purchased 2 bags of infantry and 2 bags of Artillery crew (a week later Brigade bring out their Ottoman Artillery) - Bad sign number One.


So a started to put paint to metal, I found them a struggle whether it was the lack of close up detail or the fact they all appear to be cast with the same head surely not every member of the New Army had a broom handle mustache?
They took an age and were very often superseded by other projects, the uniform colours appear to match those of the period they were an absolute bind to paint and I was a little underwhelmed by the result.....
Another bad sign....

Then finally the curse of varnish frosting. These guy's are just damned unluckily.


Now a wanted a dusty effect but this is bloody ridiculous, I did encounter this issue about two years and over come it with Olive Oil.
 
http://dusttears.blogspot.co.uk/2011/12/matt-varnish-frosting-solution.html


To the doubters out there - Two years later, no mold and no smell :-)

I really can't decide whether I preferred the dull or shiny versions, the shine does tend to where off with game play.


However given the bad luck with these so far, you can only imagine how they are likely to perform on the table top.

So I finally finished them now just the 96 Infantry to do, they might have to wait at the foot of lead mountain for a while.

Saturday, October 05, 2013

Low Ammo and Supplies Markers within Through Mud and the Blood rules.


Now it has to be said I am a fan for Rich Clarke's  Too Fat lardies rules, I love the idea of units being inspired by leaders and larger than life characters and it fits with my with my typical gaming style of large scale skirmish.


Over the last 12 months I have been building up forces for the Russo Japanese War and have been using Through Mud & Blood Rich's WW1 Skirmish rules, however the period generates some interesting challenges which feel more at home in earlier periods than the some to be seen horrors of the trenches but 10 years later, one of these was the issue around supply and ammunition it got me thinking about how to apply these in the Rules.


"Calling for more ammo"

Several hours spent on the web brought up some interesting discussions points.
Sir Richard Henagan a commander at Waterloo stated the problem at La Haye Sainte was because the rifle armed units (95th Rifles) used more ammunition than anticipated, so when Baring called for more there was no more to give him.

At Isandlwana during the Zulu Wars the supply issues with the supply wagons being to far back from the firing lines led to the British defeat. We could spend hours debating whether screws in the lids hampered this further.

http://www.ianknightzulu.com/sites/ianknightzulu.com/files/image_gallery/IMG_8210.JPG

"Bullets run out but those bloody spears don't"

Clearly as war became more sophisticated so to did supply and rear area support, reading extracts from commanders within the ACW they were often forced to withdraw troops from the line in order to resupply.

How many rounds would your average infantryman carry into battle 40 - 60?

So how to apply this to the table top?


I liked the idea of random events with the Shape Practice when more 1's than 6's are rolled, but found the need to reference the separate chart a little cumbersome and honestly forgot more times than remembered to even use it, it's not a rule that carried forward into M&B but was worthy of reintroduction for the RJW. (besides I got to use the character figures often found in blister packs these days.)

So I have incorporated the following in house rule.

Firing.
  • When more 1's than 6's were rolled in firing a Low Ammo Counter is applied to the unit (LA).
  • A unit can receive an unlimited number of these LA counters.

In the same way a Big Man in M&B can add +1 pip to any single dice for each status level above 1, a defender can now spend the firers LA counters to lower the attack dice reducing any dice by -1 pip for each LA counter spent.

Close Combat.
  • When entering into close combat once each side has worked out the number of dice fighting and side with more 1's rolled than 6's would apply the excessive 1's to the unit as LA markers.
"The Russians roll three 6's and five 1's resulting in 3 Japanese being killed but receive 2 LA markers after that round of combat."

I made an assumption that in the heat of melee troops are less likely to worry about ammunition conservation when they are fighting for their lives.

  • For each LA point in close combat remove 1 dice, I add this to the deductions after the shock point deductions.


 "A Chinese coolie bring supplies up to the front"

Removal of Low Ammo Points.
  • Unless spent by the opposition. Bigmen can use their status  or command initiative points to remove LA markers as they would with Shock points.
  • Alternatively a group with a an activated big man my send a runner for additional supplies losing one figures from the unit but in return removing 2 LA markers.

Supply Units.
I have added in an additional unit type to the Support section, the supply unit may be anything from Chinese coolies, pack mules or horse draw wagons, any activated supply unit with 12" of an Infantry group my deduct 1 LA marker per action.

Supply units are treated like Bigmen for the purposes of targeting and being destroyed or captured.
Opposing forces may not use each other supply units and once captured can not be recaptured.

I add a supply support unit for every 4 infantry/cavalry groups deployed on table.


The above rules seem to play to the spirit of the TFL rules and keep book keeping to a minimum, allowing players to trade points limiting hits if you are not properly suppled.
The introduction of supply units make for an interesting mini game as players look to sneak supplies through to the hard pressed front, bold cavalry tactics are rewarded by making units unsupplied for whole games as pack mules are chased off.


 Besides how else do I get to put these figures on the table.

Feed back and comments welcome.

Tuesday, October 01, 2013

Pulp Miniatures - Chinese Coolies

After a lull of a couple of months, the RJW project is back on track, I picked these Chinese coolies up from Pulp Miniatures over the summer to represent elements of a supply column for either side.


The absence of decent roads and the difficult terrain forced both sides to employ 000's of  Chinese coolies for transporting supplies and digging trenches, arguably the Japanese treated the Chinese slightly better than the Russians who often distrusted the workers due to concerns over the number of Japanese spies amongst them.


Underwood & Underwood, publisher - A crowd of Japanese soldiers; Chinese coolies in right foreground, Manchuria Print

Having created a number of shock markers for the Russians and Japanese, I thought I could also use these as  "low Ammo" markers for an adaption to the firing rules with the Too Fat Lardies Mud and Blood rules which I am working on, more on that later..


 Great figures from Bob @ Pulp with real character.

Saturday, September 28, 2013

Rising Sun and Tumbling Bear - Russo Japanese War AAR #1

Wednesday night saw the first in a number of linked scenarios for the Russo Japanese War using Through Mud & Blood from the Too Fat lardies stable.
------

14th March 1904 North Korea.


Advices received at Ntuchwang state that General Kuroki Tametomo commander of the Japanese First Army have landed at Chemulpo,  the Russian garrison is ordered to fall back on the River Yulu, holding the railway line until the Russian non-combatants can be evacuated.


Our correspondent telegraphs that the Russian defenders were initially caught unawares by the Japanese advance, with members of the high command and sensitive military documents cut off in a small compound at the cross roads at An-lien.


Elements of the 16th Siberian Infantry defend the railway line against the advancing Japanese.


Russian infantry advance through the millet field with Russian blinds advancing down the road to secure the compound and it's valuable content.


Ignoring the left flank the Japanese advance at pace down the main road towards An-lien


Elements of the Japanese First Army rush to engage with the Russian defenders, Major-General Asada's advance guard lacked any rear support Sir Ian Hamilton wrote "Fortune was in the mood to be wooed"


Russian elements reached the edge of the millet field but were quickly engaged by the advance Japanese whose aggressive attack forced the Russians back to their start line.


Additional Russian forces are committed as the initial line of Russian defence is forced back by excess shock.


The Japanese press home their attack reaching the cross roads but are forced back by a number of volley's from the Russians at the railway embankment leaving behind several dead including Lt Tanja of the Satsuma Clan.


The Japanese mass for a second attempt at clearing the walled millet field.


The intensive firefight draws additional combatants into the engagement, the Japanese rushing down the main road, whilst the Russian 16th Regiment sweep round the compound engaging the Japanese left flank.


The 16th Siberian Infantry leave the safety of the railway embankment and move towards the Japanese advance guard.


A view from the Russian lines, the Russian detachments have taken a high number of casualties but continue to hold the railway line from a series of Japanese close combat attacks.


As the encounter draws to a close the Japanese are forced into defensive positions opposite the Russian defenders, repeated close combat assaults have weakened their number and whilst suffering little shock, lack the strength in numbers to carry the position.

The loss of a number of Bid men did not allow the Japanese forces to pool their infantry and piece meal attacks against the defended position proved to be ineffective.
The Russian non-combatants and garrison command slip away with the Japanese unable to follow up.

Wednesday, September 25, 2013

Chain of Command Scenario - Defend an objective....

Sunday night saw my first outing for the newly reorganised German Battlegroup for use within Too Fat Lardies latest rules - Chain of Command.

They were facing off against an elite British Paratroop force under the veteran CoC commander Major "give me a one" Deacon..... somewhere in Northern France.


We thought we would give Scenario 6 - "Attack an Objective" a go with my hard pressed Germans taking the role of defender, I have to hold out in the top right farm complex until the end of the game no small ask against the Red Berets...


The patrol phase was a disaster, two of my counters were locked down one move out by the British forcing my remaining patrol markers to be set only a short distance from the main objective. The Para's jump off points gave them control of the foremost farm over looking the T junction.


I order 1st Platoon to dig in barricading the farm complex and being placed on over watch to cover the approach to the farm, however the para's field craft kept their casualties to a minimum, the para's were soon returning fire keeping the defenders heads down.


More para's advance towards the objective skirting the hedge row and the farm complex.


My MG34 opens up on the advancing para's forcing them into the farm buildings whilst British casualties are only a single figure I had managed to force them into a defensive posture even though the Brits were making great use of covering fire suppressing many of the defenders firing positions. 


I needed a way of forcing the Para's from the farm, fortunately I had saved my support points for one major counter stroke from my rear most jump off point I activate my ace in the hole - a Pz IV H.
HE shells start to land on the Para's defending the farm......  I must be honest I am feeling rather smug.....


The Brits had a similar plan and in response to my armour, on rolls a Sherman to counter my panzer, it fires and misses, I return fire and boom....


So good I had to photograph it twice - sorry Ade.....


The armour exchange was a minor distraction and the Para's press home their attack advancing through the corn field, my MG was forced to keep their heads down due to covering fire from the farm and with only one window on the northern side of the farm I could do little to slow the para's advance. 
I even cashed in a CoC dice to launch an ambush but the para's field craft protected them from significant casualties.


Believe it or not this was still turn one, smoke from the para's 2" mortar was making targeting difficult, but the British could not see a way to force there way into the complex not with a PZIV wandering about, we agreed to call it a night......

German victory.....

And to think we never got past turn one....

Monday, September 23, 2013

German Late War Support Weapons - Chain of Command

With the infantry finished I thought I would bring the support options up to speed to give me some variation in future scenario's, as with most wargamers I seem to have gotten a little carried away already, with the painting table full of extra's..... so much for sticking to a plan.

First up two Pak 40 AT Guns - Eight points each on the support charts.


For the cheaper option, 2 MG 42's worth 4 points each.
Technically with 5 crew so I will need to work on some additional markers. 


I also finished the last of the command bases, with 3 officers to represent a senior command should it be needed.


Next up vehicles and with Derby 2013 approaching who knows what else.....

Sunday, September 22, 2013

Too Fat Lardies Chain of Command - Big men and leaders.

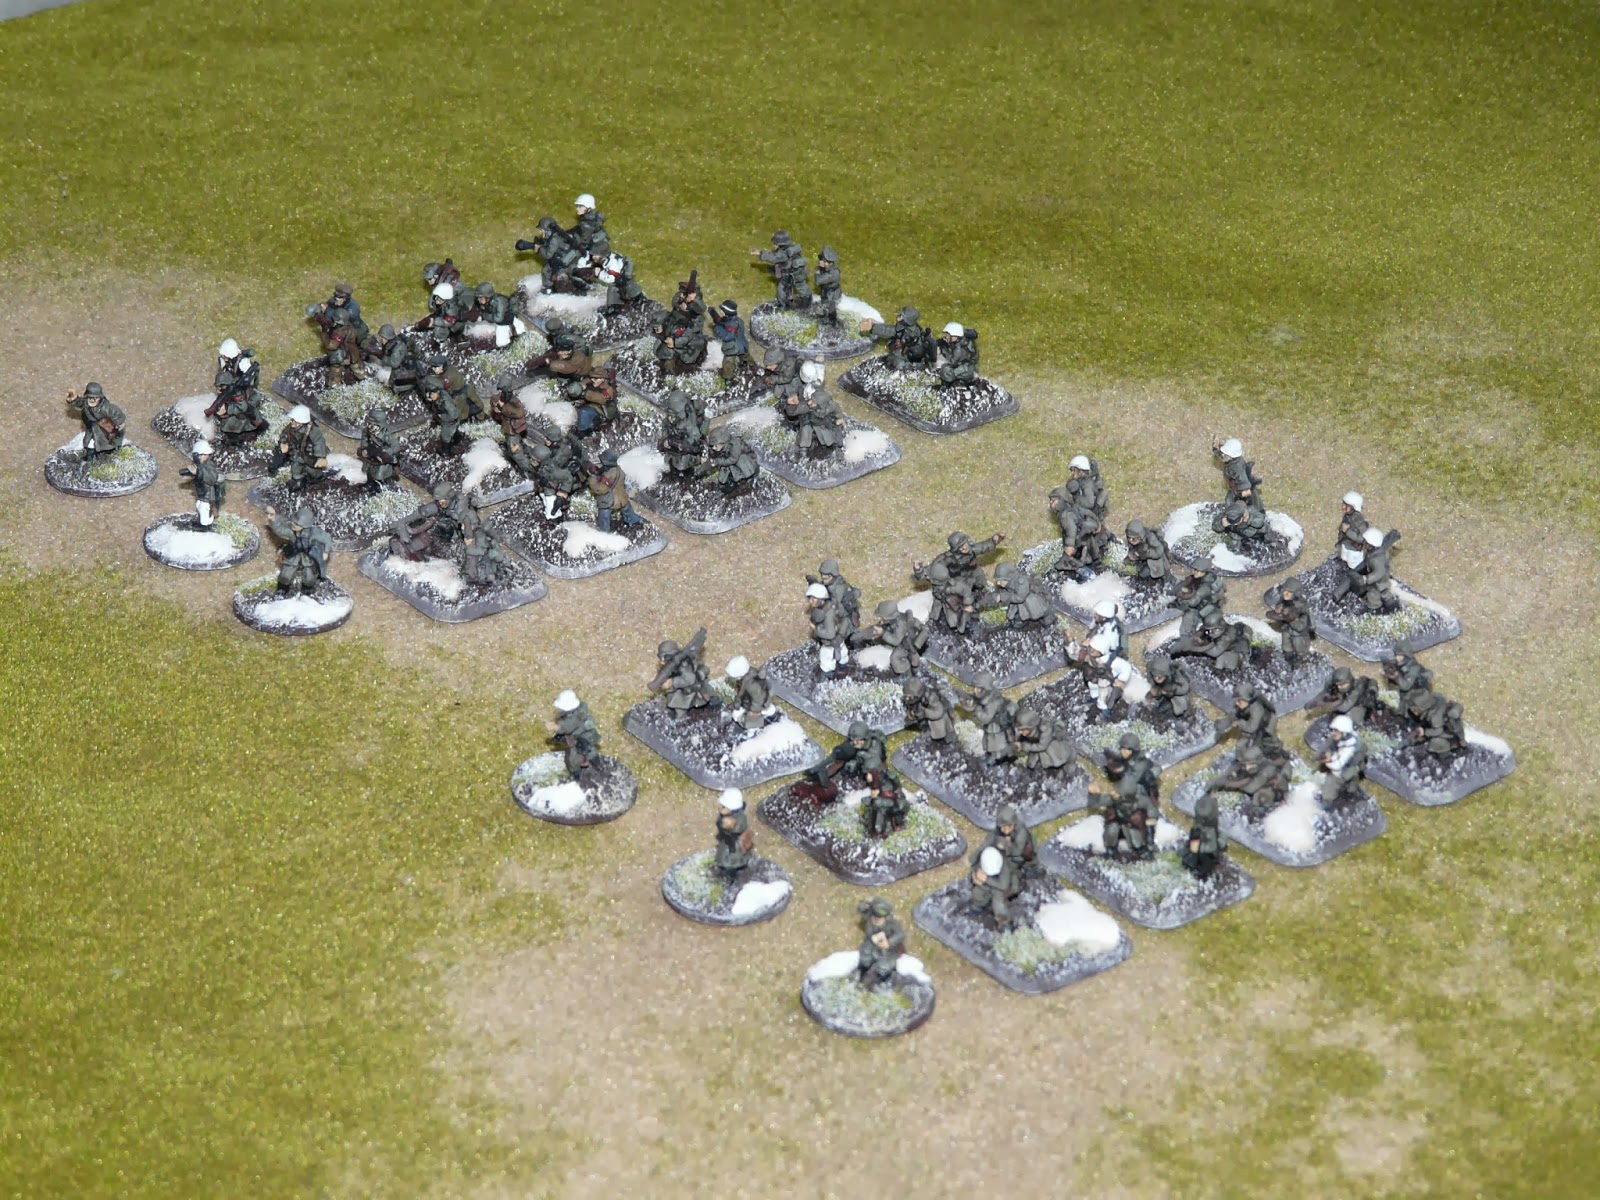
Having given the late war infantry a make over and re-organising them for Chain of Command, I should be able to muster two full Platoons to hold off the allied advance, however the current basing (3 to a base) has left me a little short of Senior and Junior leaders fortunately a quick order to Peter Pig has provided the necessary reinforcements.

Gaming and painting has been a little thin of late, so I set myself the challenge of getting the leaders finished with 48 Hrs.... for tonights club outing. SNOW Pressure then.....


I am pleased to report that the reinforcements are now available with a few hours to spare the snow still a little wet.... I just hope they don't fall foul of the curse of freshly painted figures on there first outing. 
 

Paul over at  Move along nothing to see here has steadily been building his collection and opted for junior officers on 1p bases, I thought I would follow suit adding senior officers on 2p's with a second figure to make them a little easier to identify.


I also included a medic to give me an option on the table should it be needed to keep those big men active.

The standard infantry squad in CoC is made up of an LMG team of 2 crew and a rifleman, whilst the rifle team is made up of 6 riflemen. Longer term I would like to add some two figure bases to give me additional figure options.

I am toying with bolstering the rifle squad to 9 men and the LMG team with only 2 to fit with my current basing, but will have to see what that does for game play.


1st Platoon - Veterans from the front in a mixture of over coats and cold winter gear.


2nd Platoon - Volkstrum and HJ

Next up support weapons....