It would be a few weeks before Feguson and Williams would be back from the hospital at Rorkes Drift, mean while preparation for the invasion continued.
Henshaw the hero the first engagement was given command whilst Ferguson healed. Orders for a patrol to be sent out to reconitor Hamels Hill over looking the Buffalo River were received.
(Scenario K within the Platoon Forward Campaign rules from Too Fat Lardies)
Selecting two sections (No supports were available - due to pour dice rolling.) he was to seek out the Zulu and gather information on their strength in the area around Hamel's Hill before retiring off table. (The Zulu's had 6 Blinds a minimum of 3 must be identified for victory to be claimed)
Major Hall commander of the 1st Battalion the 99th thought he would tag along for the adventure. (The fixed event roll following the first battle)
Hall who was inept and prone to a tipple it looked like this trip would be no different. Mounting his Chesnut horse Brandy he galloped left and right looking for the Zulu
Hamel's Hill was steep flanked by dense scrub and gully's on either side with numerous hiding places for the Zulu to lurk.
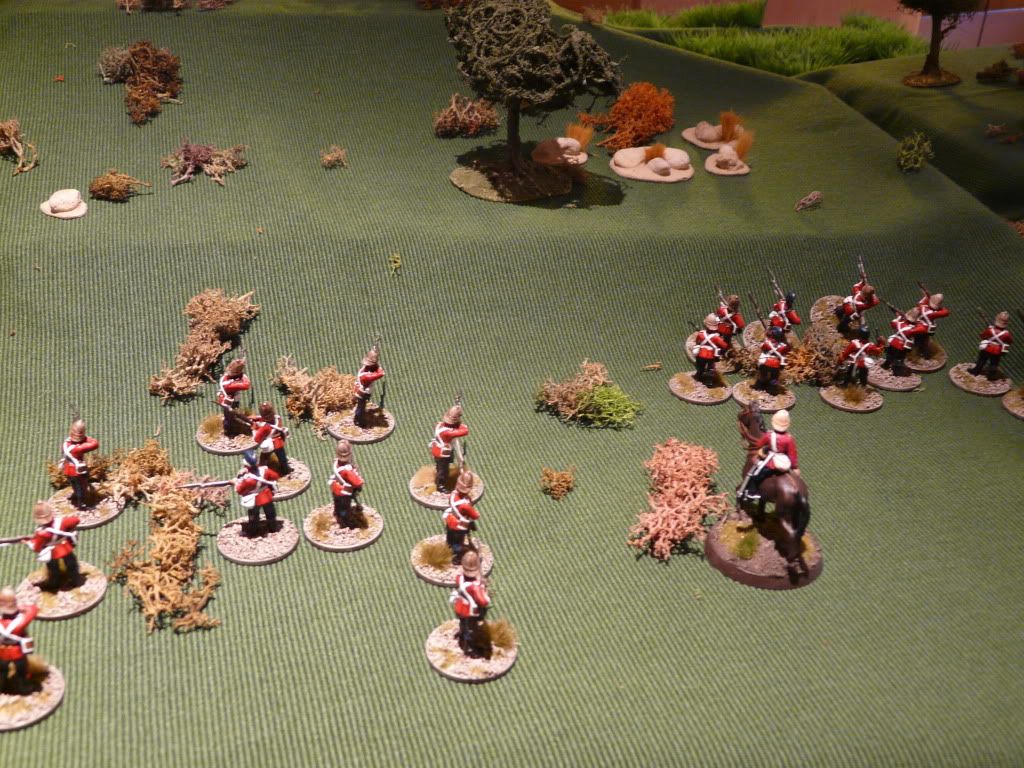
Henshaw chose to advance in skirmish order looking into any dip and thorn bush trying to spot the sneaky zulu, a small party of Zulu's were spotted a top of Hamel's Hill but a number of volley's soon drove them away.... (One blind down).
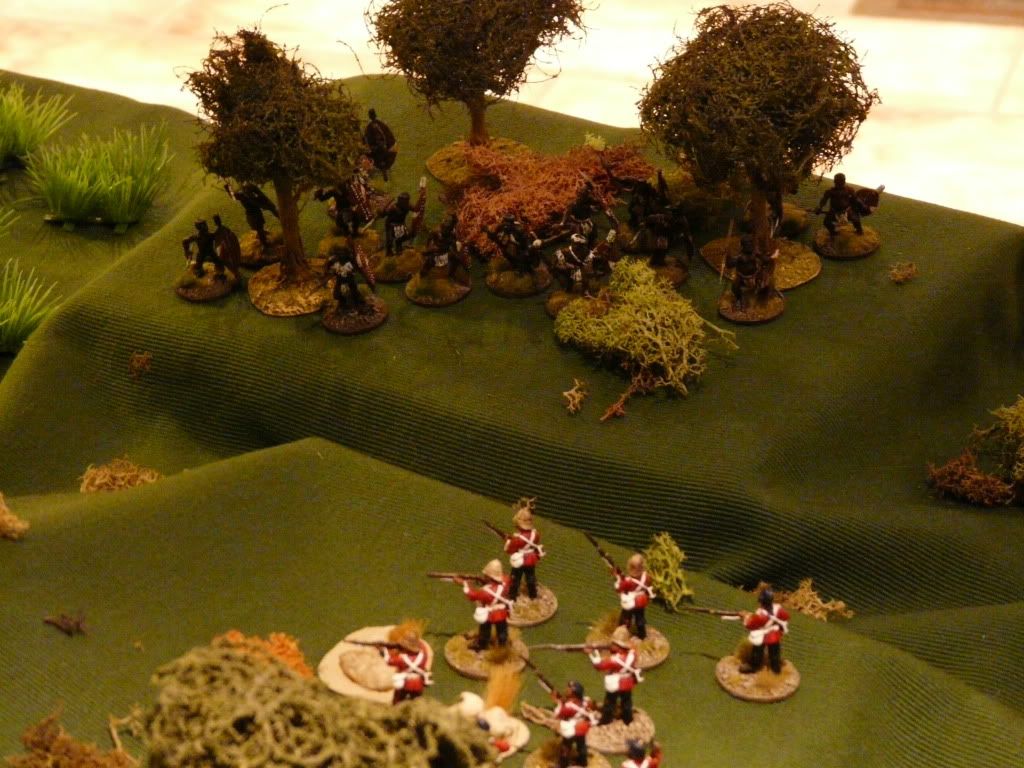
As the sun rose a large body of Zulu were spotted on the Eastern flank hiding amongst the scrub.
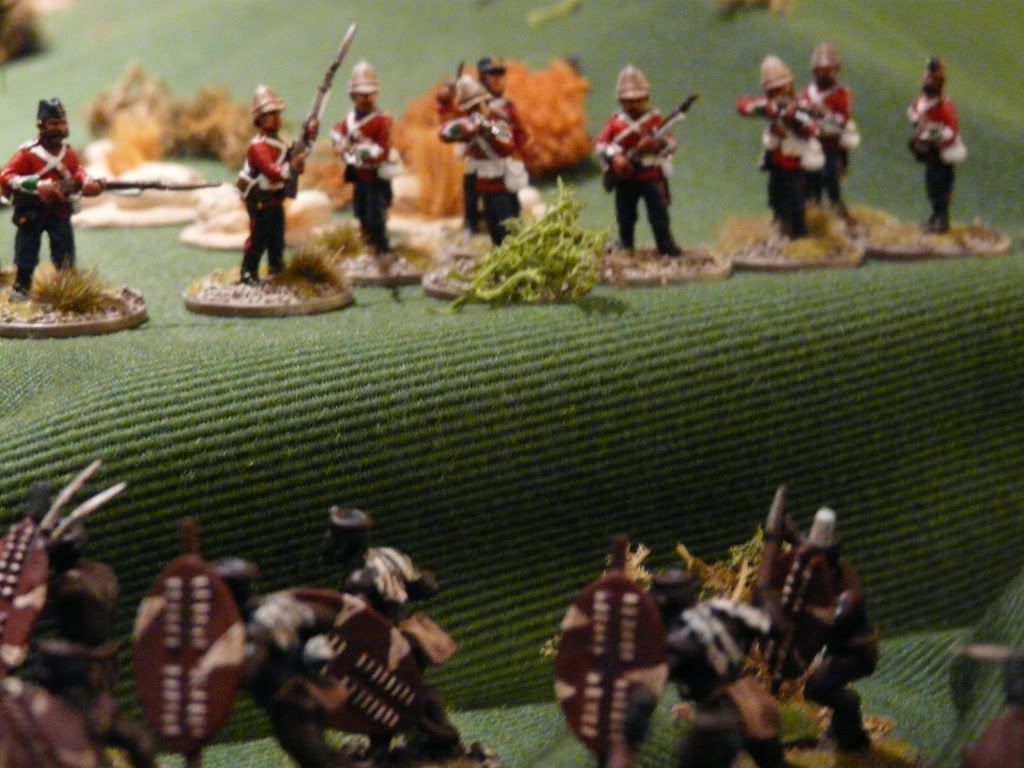
The Zulu ran forward flanking Henshaw's section which poured fir in the running Zulu's they headed down the hill side (3 shock points inflicted but the modifer to the Zulu movement kept them fleet of foof.)
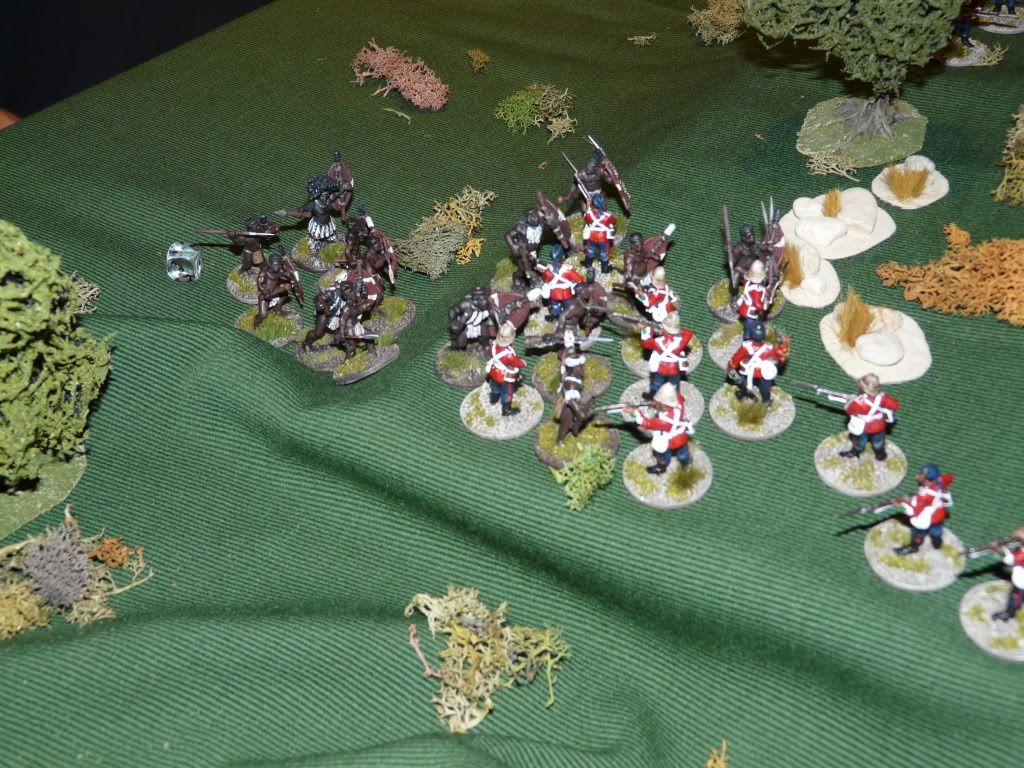
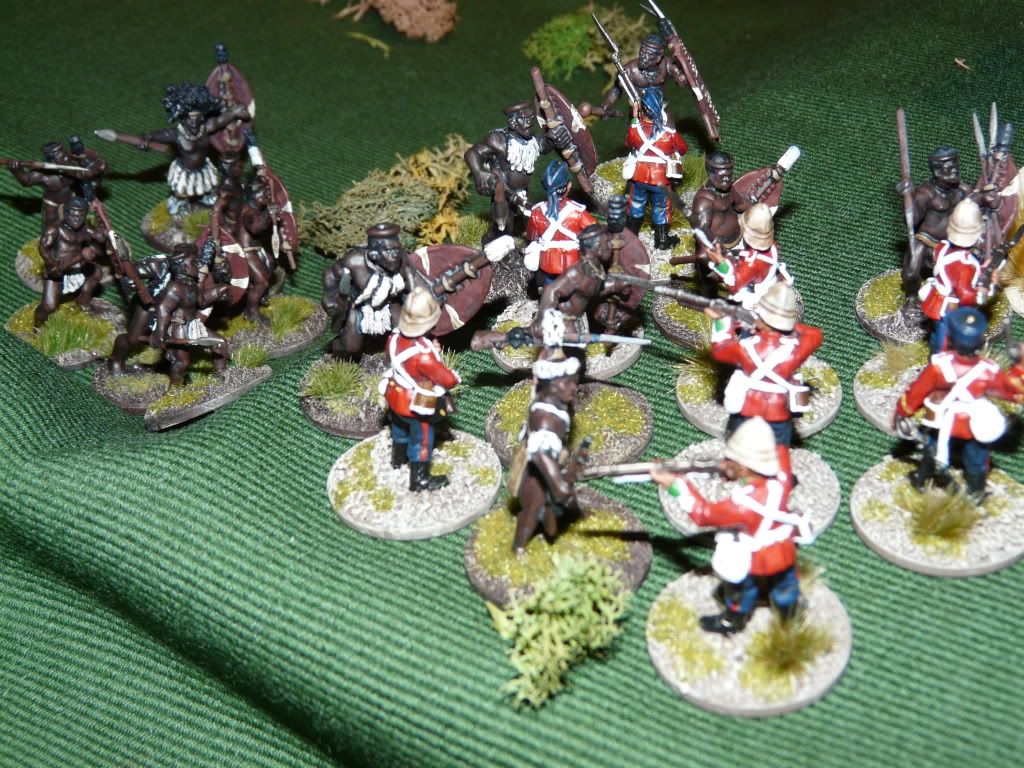
The Zulu's hooked right and despite charging up the step incline were able to engage with Henshaw. (the number of dice were even but the Zulu rolled better inflicting 3 more kills than recieved.
Henshaw was forced to fall back up the hill leaving behind 5 casualties.
Henshaw was lightly wounded but was able to kill the Zulu big man which took the wind out of the Zulu's for a turn.
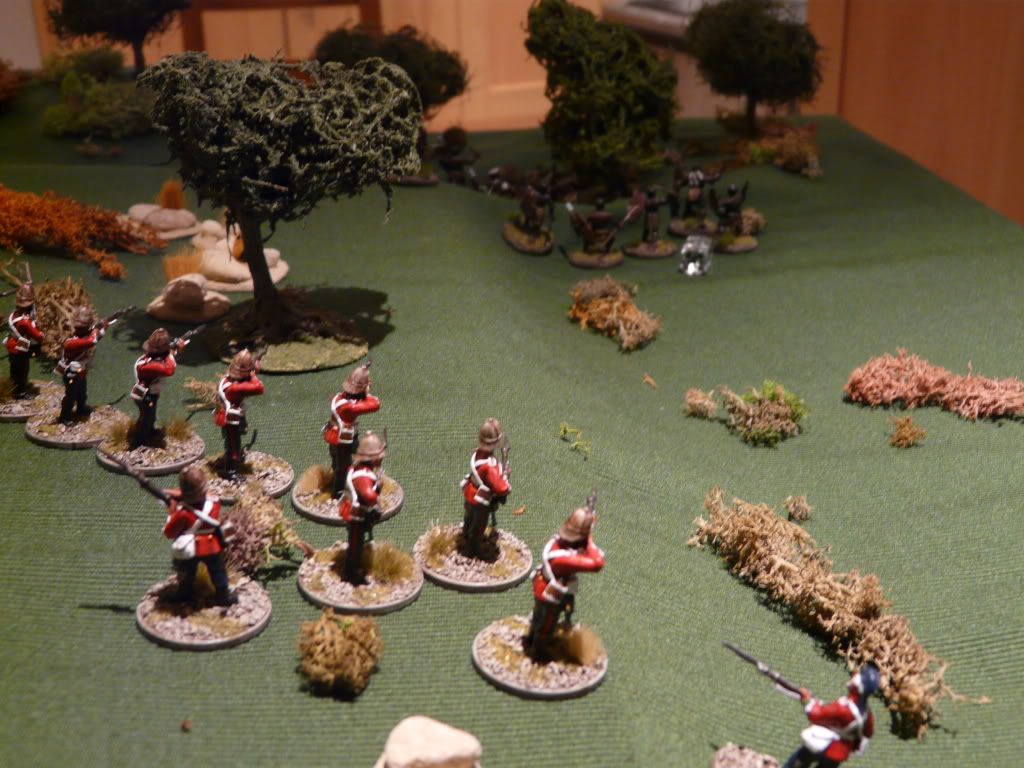
Sergeants Dorset turned his section turned to face the victorious Zulu's and fired several volley's into them while they tried to reorganise and apoint a new leader. The resulting fire forced them back down the hill and into the scrub where they were to play no further part in the encounter.
Henshaw had been saved as his attempted to regroup on the crest of the hill.
The British player by now had another couple of Zulu war bands with the tally now at 4 blinds they decided to retire as more Zulu's threatened to cut off the British Patrol.
Zulu's poured from the Valley below Hamel's Hill and filling the right hand gorge with angry warriors.
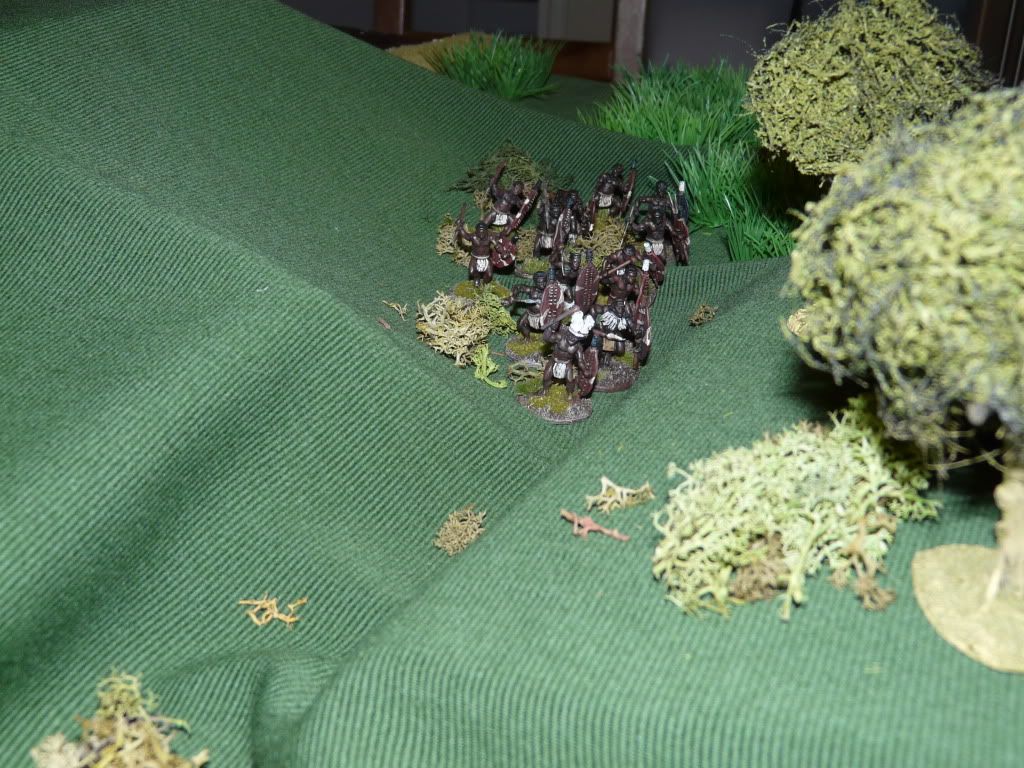
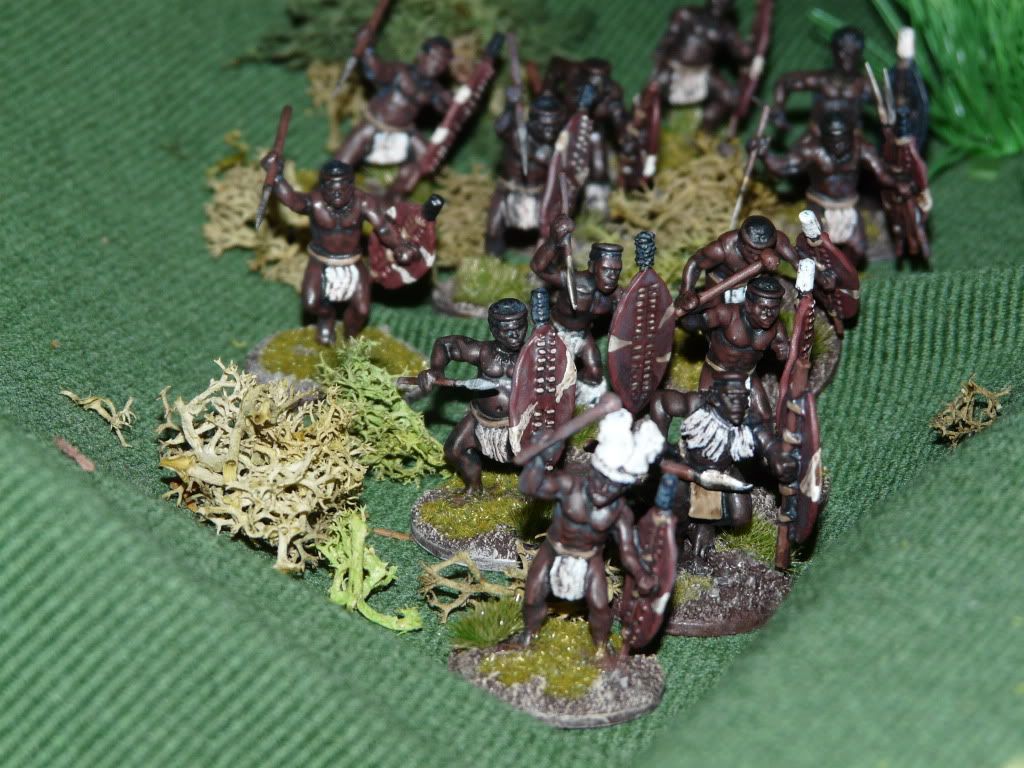
Time to leave...
Dorset poured fire into the advancing Zulu's whilst Henshaw ran back down the hill.
Whilst all the time Major Hall looked in the wrong direction..... clarly seeing double.
A victory for the British, just a shame Battalion Commander missed it.
GAME REPORT 2 Post Script.
The British having fled the field left 5 killed behind.
However rolling on the fixed event chart within Platoon Forward provided the British player with additional reinforcements. Ferguson's Platoon is now up to 3 men above full strength.
Although Ferguson remains on sick leave for at least another encounter.
If you keep up these skirmishes you will be down to lance corprals leading the regiment by the time of the big game
ReplyDeleteI am sure reinforcements will be available to keep the Zulu at bay.
ReplyDelete