Wednesday, June 18, 2025

Wyre Forest Club Day: A First Look at Chain of Command 2

Sunday was club day and an opportunity to dive into Chain of Command 2 after a few years away from the rules having been playing larger games using Bolt Action with elements of the original Chain of Command I was keen to see what had changed and what has remained.

We played through one of the pint sized campaign games - Scenario 2 from Operation Martlett the 49th Infantry division's push against the 12th SS.

While the foundation of Chain of Command remains solid, several refinements most certainly elevate the experience on the table, the revamped rulebook is an improvement over the original looking through the rule book, rules for similar mechanics are now grouped together, making it easier to find specific information. The comprehensive index is a welcome addition, significantly cutting down time spent flipping through pages.

It's good to see elements of the previous expansions like Blitzkrieg 1940 and Far East make the rules. Light Mortars feel more situational rather than a default option to poor fire on the enemy, the limited rounds make you think hard about when to deploy them.

The Armour damage is a lot cleaner, eliminating reliance on multiple tables while preserving varied outcomes even if I was on the wrong end of a Pak 40.

Herr Fingerbob was not happy about losing their prized IV as soon as it come on the table.

The expanded National Characteristics give more tactical depth, allowing Chain of Command points to be used for special abilities rather than just dice management. 

Fire bonuses now influence tactics more dynamically, the Storm of Steel rules and exploding dice can make certain fire more impactful, the German double MG42 still throw a lot at dice at the advancing allies.

Germans are still mighty tough with Junior and Senior leaders in toe - put out loads of flying lead.

Whilst not used in our game on this occasion a couple of areas in the rules leap out.

  • Anti-tank weapons such as mines, grenades, and rifle grenades are more viable, making tanks think twice before rolling ahead without infantry support.

  • Suppressing Fire replaces Covering Fire with an expanded role, letting tanks pin down positions more effectively.

Bolt Action continues to give a larger 'game' but Chain of Command makes you have to think more as the commander on the ground would the commitment to authenticity is stronger than ever. New support options—like Mines in Verges for Germans and White Phosphorous Grenades for urban combat—add layers of realism and period accuracy and make fighting through France quite a challenge if it was not in the first place.

Perhaps the most intriguing change is in scenario objectives. Instead of merely draining Force Morale, battles now hinge on capturing objectives. Doing so accelerates morale loss and can trigger counterattacks, leading to more dynamic engagements. This tweak ensures that players focus on positional play rather than just surviving morale checks. It certainly makes you want to pick up the pace.

Final Thoughts: An Evolution, Not a Revolution

Chain of Command 2 doesn’t reinvent the game—it refines, enhances, and polishes it. The familiar platoon-scale tactics remain, but the improved rulebook, adjusted mechanics, and strengthened historical accuracy make battles flow more intuitively and have a more gritty feel.

For veterans of the system, this edition offers a smoother, deeper experience while staying true to its roots. If you're new to Chain of Command, the clearer ruleset makes it easier than ever to jump in without feeling overwhelmed. 

Looks like I might need to reorganise my forces yet again :-)

Saturday, June 14, 2025

Richard the Lionheart - Footsore Miniatures

Real life seems to have gotten in the way of gaming and painting of late, the Outremer Campaign is hopefully a way of driving activity and clearing the never ending queue.

I have had this model of Richard the Lionheart tucked away for a number of months, the perfect model to ease myself back in this month. A cracking model full of character from Footsore Miniatures.

My leaning is towards the Third Crusade (1189-1192), where he led Christian forces against the Muslim leader Saladin. Motivated by religious fervour and the loss of Jerusalem to Saladin in 1187, Richard joined forces with other European leaders, including Philip II of France and Frederick I of the Holy Roman Empire 1, perfect if I wanted to create a multi player campaign with competing factions.

I have gone for the Hollywood Red, perfect for the siege of Acre or the Battle of Arsuf. Can miniature Richard capture Jerusalem we shall see?


A very useful cheat is the shield transfers from Fire Forge Games, they need a trimming to fit the shield but they do make the model, not something I fancied painting myself.

Next up yet more Crusaders.....

Sunday, June 08, 2025

The original Dust Tears & Dice - Outremer Campaign - Turn 1

I was reflecting on where the original title of the blog came from. Back in 2011 when I kicked this blog off I had an interest in the British in the Sudan and the Crusades with a plan to run an online campaign at our local club - Ironically neither of these projects every made the table top or blog, roll on 14 years and the Crusades finally makes the table top and the Dust & Tears Campaign finally lands on the blog.

In the Cry Havoc supplement - Outremer in the back of the rule book was a very useful scenario generation system which it allows you to generate and follow a group of 'Pilgrims' as they travel from Antioch in the North to see wondrous sites of the Holy Land in the South.


I adopted the table to Lion Rampant to give me the potential force map up for each Pilgrim party, the idea being each party will set off in the top left hand corner and attempt to reach Jerusalem, as each party runs out of troops or money they are likely to have to stop to await further pilgrim parties to bolster their number culminating in larger games. (driving me to paint the rest of the plastic and metal.)


Lucky me I rolled on the chart and my first party is a Knight & Retainers I adapted the table to model the forces available within Lion Rampant ignoring the 24 point limit and basing it on unit types as the scenario dictates.

Each Hex on the map is 20 miles roughly one days travel. Each time the party enters a hex on a roll of 50% or less and an encounter occurs. More on the type of encounter in future posts.

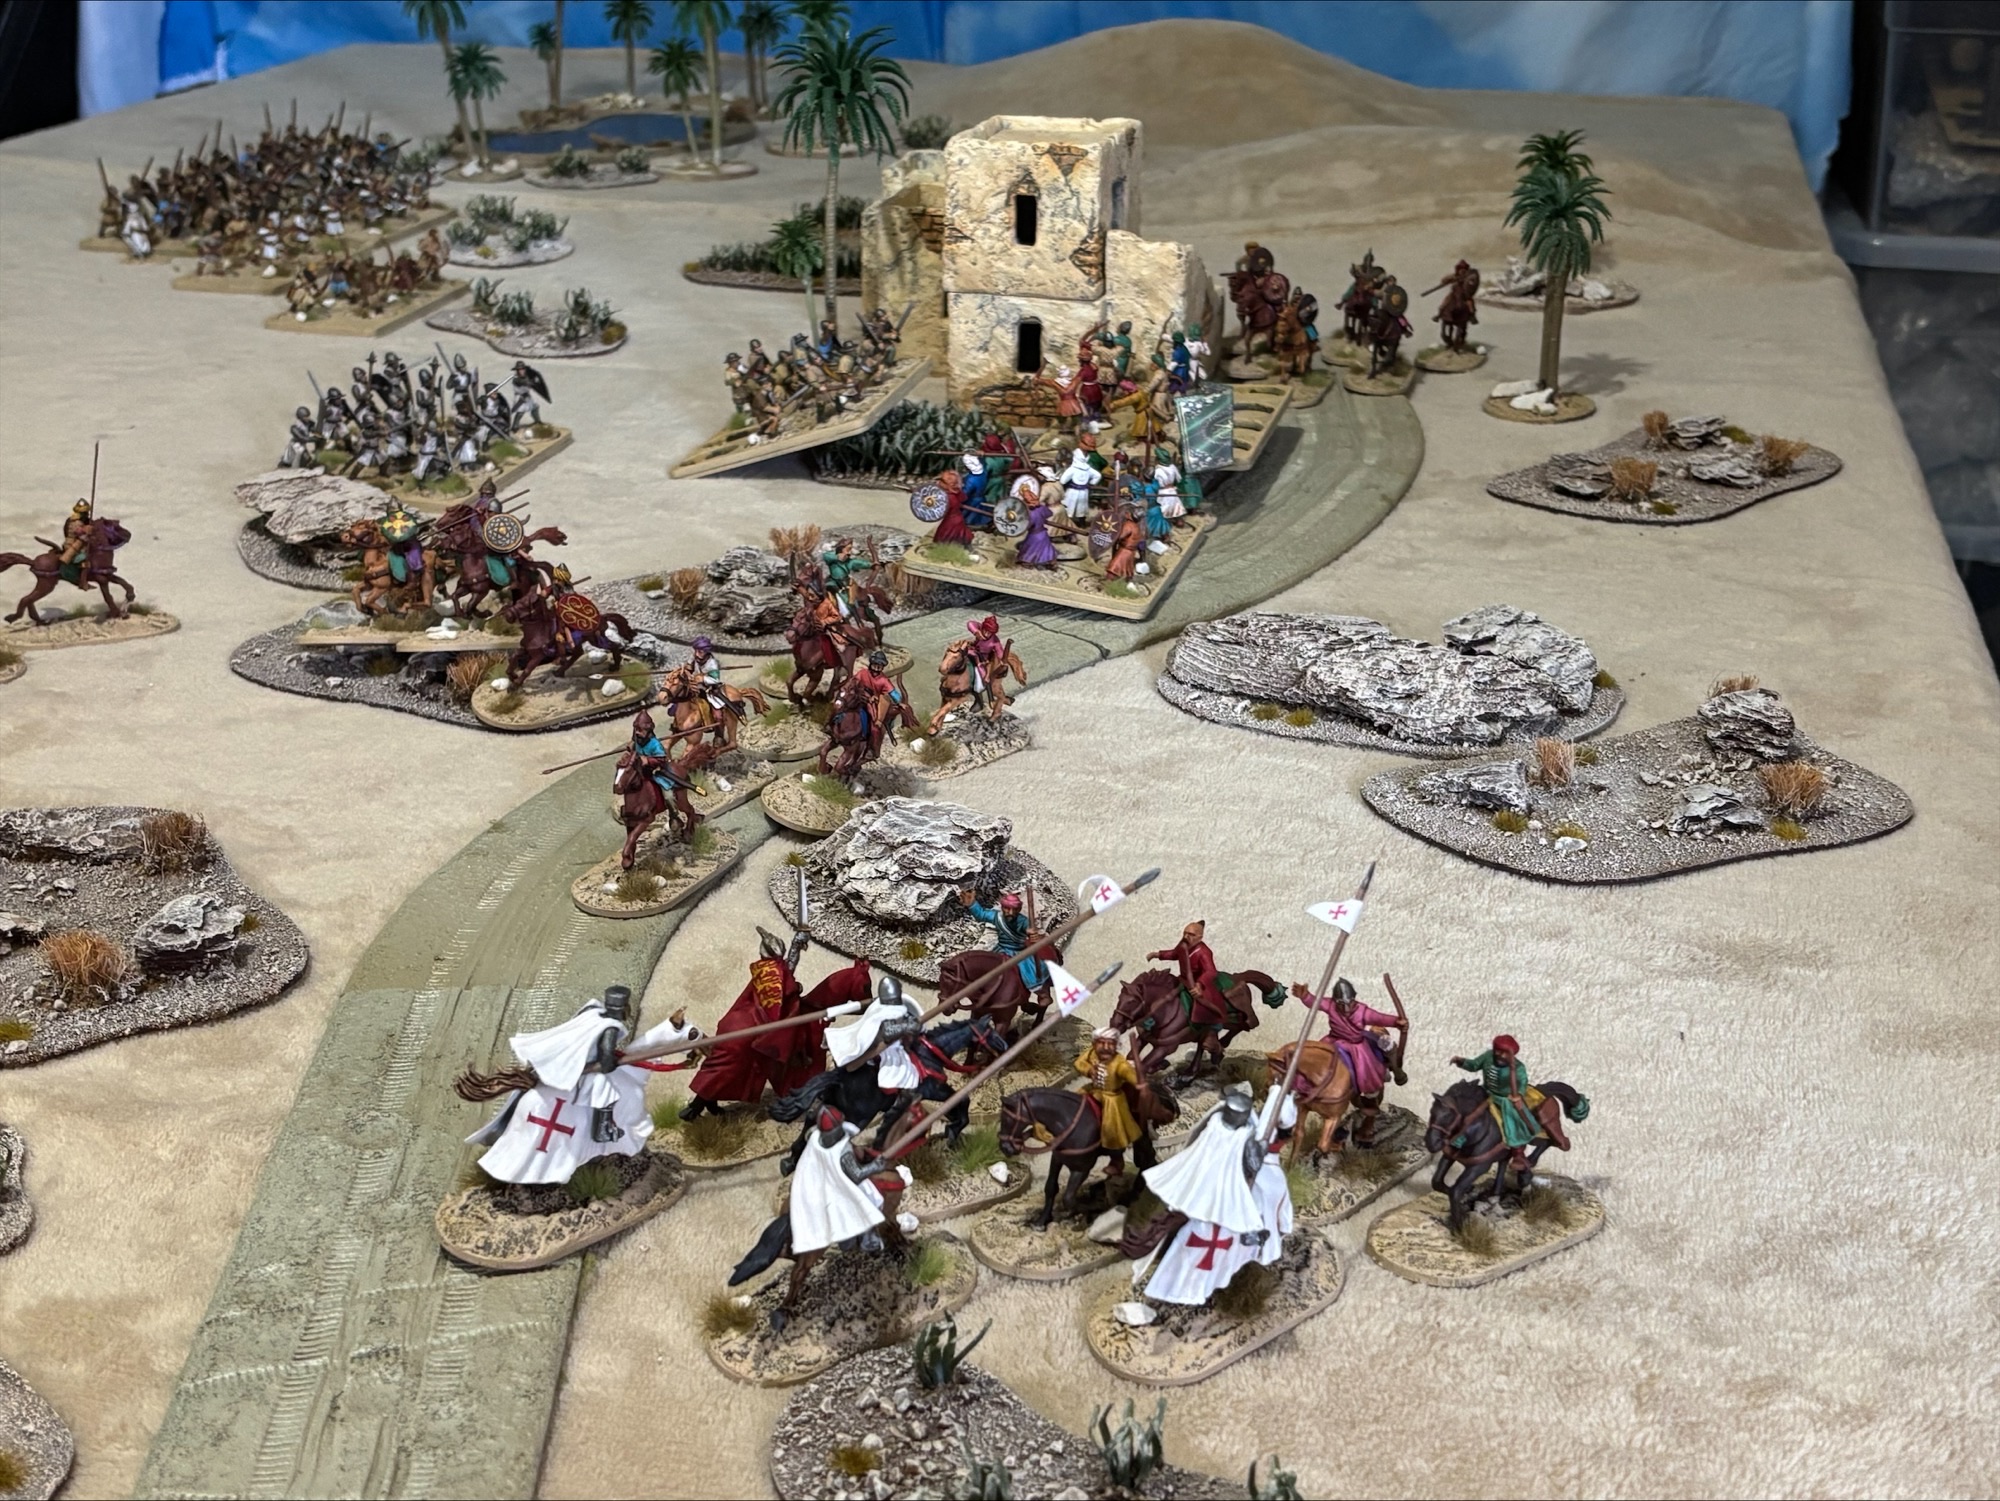
No more than 20 miles on the road and a small cluster of buildings emerge out of the heat haze, horsemen ride out of the village to confront the party of travellers.

It's easy to get carried away in the first encounter with the following forces available on the first encounter, 3 Knights, 1 Heavy Cavalry, 1 Light Cavalry, 2 Spear Units, 2 Warriors, 2 Missile & 1 Skirmish unit. The Christian forces heavily outnumbering the Moslem defenders felt pretty confident in winning the engagement and sacking the village for potential loot and valuables to fund their onward march.


The Christian forces had enough for 2 commanders with circa 24 points in each wing. The Christian cavalry forces swept left to be countered by the Moslem light cavalry clouds of arrows peppered the heavily armoured Knights.


With a wild charges of the Christian Knights drove back the light cavalry who fired off their bows in a skirmish move dropping back out of charge range, but occasionally the Knights caught them before they could evade and the defenders were put to the sword.


In the centre the pilgrim foot advanced into the centre of the field. The aggressive warriors were ready for the fight.


The Moslem archers were unable to slow the charging warriors, they left off a single volley before the Christians advanced.


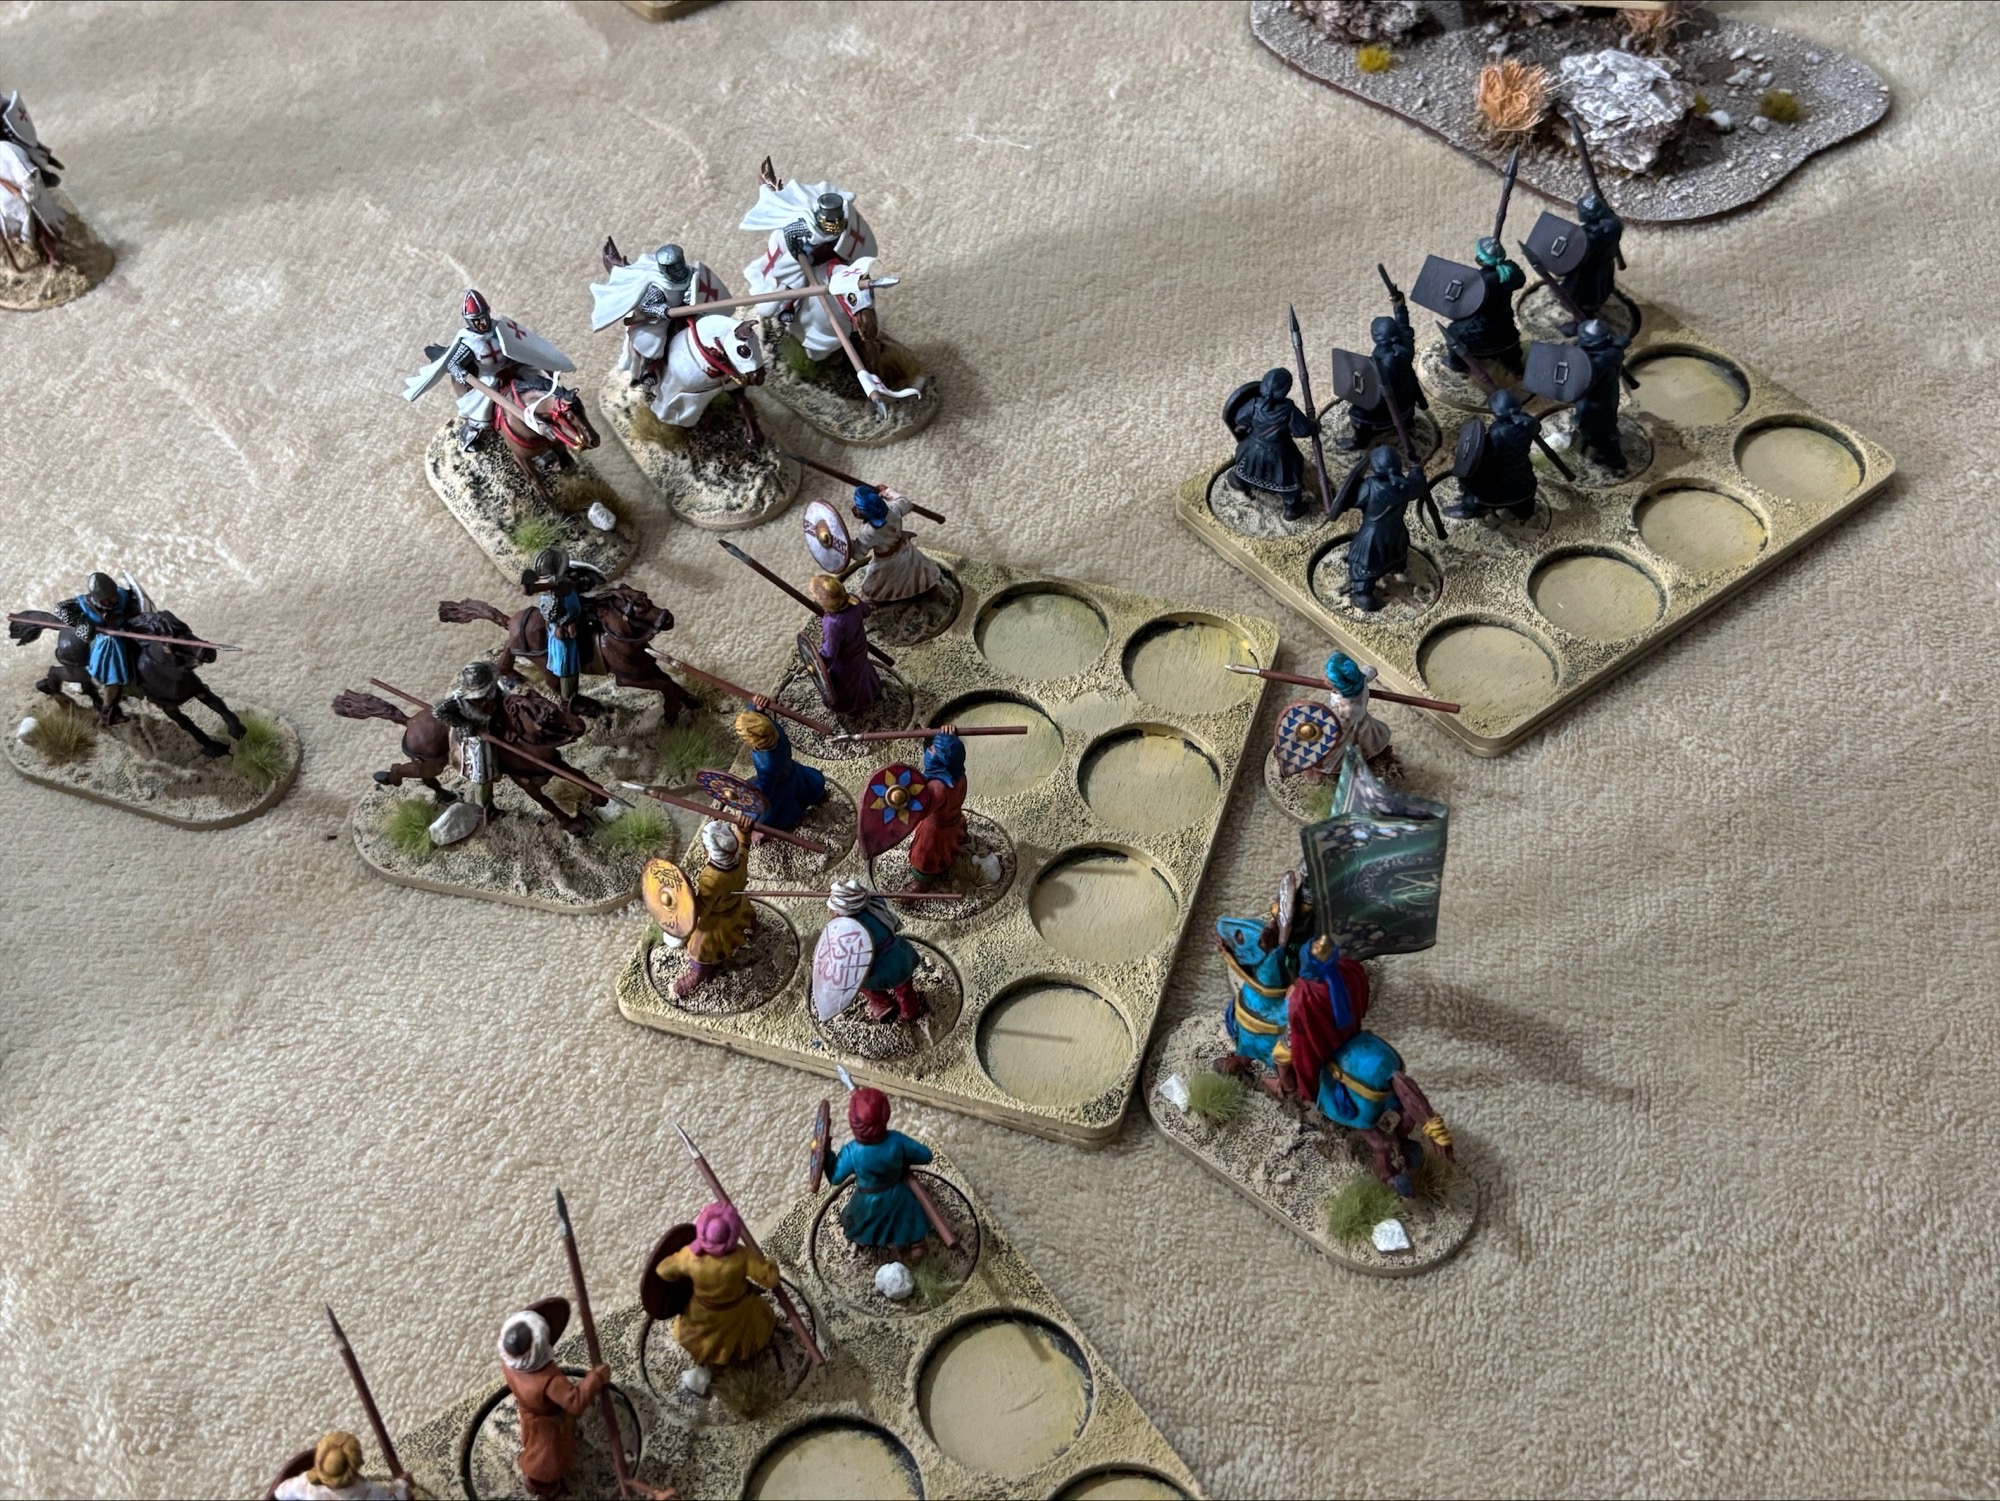
The first unit of Warriors crashed into the unarmoured missile men.


The archers fell backwards to be replaced by a wall of spears only for the warriors to charge again. The Warriors continued to win each melee but their numbers were thinning.


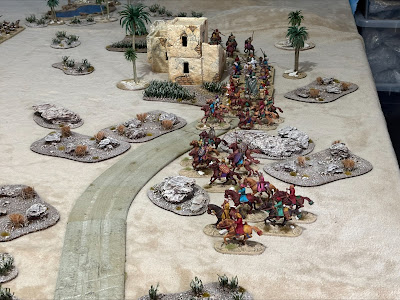
With the infantry pinned to the front the Moslem cavalry were unable to find a gap in the Christian lines and the boxed in with the mounted knights driving home their advantage.


The Moslems took flight leaving the small settlement in the hands of the Christians.
Losses 1 Light Cavalry & 1 Warrior Unit.

But already the loss of the sole light cavalry unit and one of the warriors might prove telling.
The Pilgrim's press on - 3 Knights, 1 Heavy Cavalry, 2 Spear Units, 1 Warriors, 2 Missile & 1 Skirmish unit. 

Next up Turn two and an overview of the Arab force generation together with details on upkeep and the hiring of mercenaries.